 Upgrading Huawei AC Device via the Web Platform
22 Oct, 2025. Posted by:XPONSHOP
Upgrading Huawei AC Device via the Web Platform
22 Oct, 2025. Posted by:XPONSHOP
Most Views Posts
How to configure Wi-Fi services through the NMS?
2025-10-22 09:11:04
Basics of DHCP Protocol
2025-10-22 09:00:06
Unlocking ME60 NAT- What You Need to Know
2025-10-22 09:07:50
Exploring OSN 9800 RTU license
2025-10-22 09:05:27
How to Login to NE8000 M Series Router?
2025-10-22 09:04:55
Popular Posts
Huawei S Series Switches Stack Guide—Version and Model Requirements
2025-10-22 09:03:46
Exploring OSN 9800 RTU license
2025-10-22 09:05:27
ETP4830-A1 SMU Monitor Module Introduction
2025-10-22 09:00:28
Decoding the Barcode and Serial Number (SN) on OSN 8800 Boards
2025-10-22 09:06:53
What is 10G PON ONTs?
2025-09-25 11:55:32
Random Posts
Unlocking ME60 NAT- What You Need to Know
2025-10-22 09:07:50
Step Guide: How Do I Download&Activate Huawei Switch License?
2025-10-22 09:05:05
The Potential of WDM-PON
2025-10-22 09:02:46
How to Configurate Telnet Login for Huawei Switch?
2025-10-22 09:06:36
The ONT Configuration Status Fails on Huawei MA5608T
2025-10-22 08:59:33
Recent Posts
What Is Maximum Transmission Unit (MTU)?
2025-11-12 10:55:12
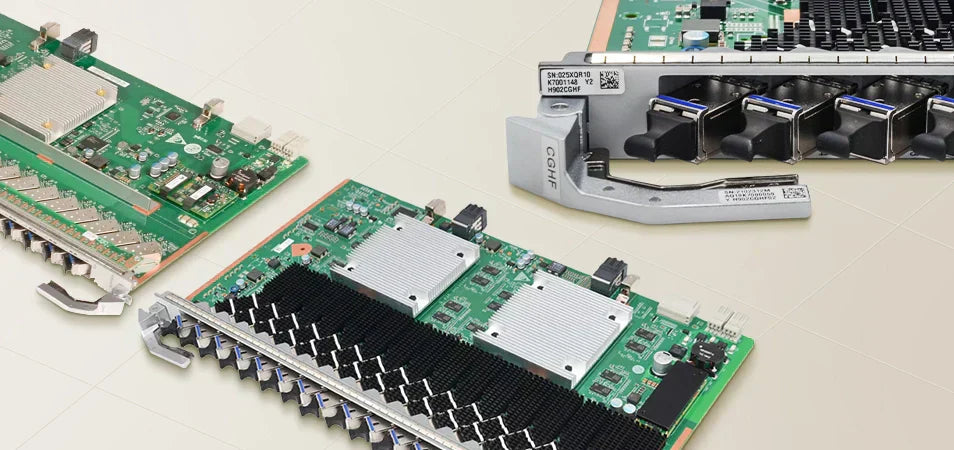
Reasonable Split Ratios for Huawei OLT Service Board i.e. GPFD/GPHF/CGHF/CSHF
2025-10-25 16:27:59
Difference between 5G and Wi-Fi 6
2025-10-23 09:07:54
How to configure Wi-Fi services through the NMS?
2025-10-22 09:11:04
Unlocking ME60 NAT- What You Need to Know
2025-10-22 09:07:50
About
XponShop blog describes some basics for Huawei / ZTE /
Nokia / FiberHome GPON OLT, ONT, SFP, and Site Power...
such as configurations, issue troubleshooting, knowledge
sharing, and keeps updating.
Recent posts

Products from the blog
Upgrading your Access Controller (AC) device doesn’t have to be a daunting task. With the right preparation and a clear process, you can seamlessly transition to a newer software version using the web platform.
In this article, we’ll walk you through the upgrade process for an AC6508 from V200R019C10 to V200R020C00 (the steps are similar for V200R023C00), and explore the innovative intelligent upgrade option available for select Huawei devices. Whether you're performing a standard upgrade or leveraging automation, we've got you covered.
Getting Started: Pre-Upgrade Essentials
Before diving into the upgrade, a little groundwork ensures everything goes smoothly:
1. Browser Compatibility: Confirm your browser version and environment settings align with the AC’s Configuration Guide (Web Platform). A mismatched setup could derail the process.
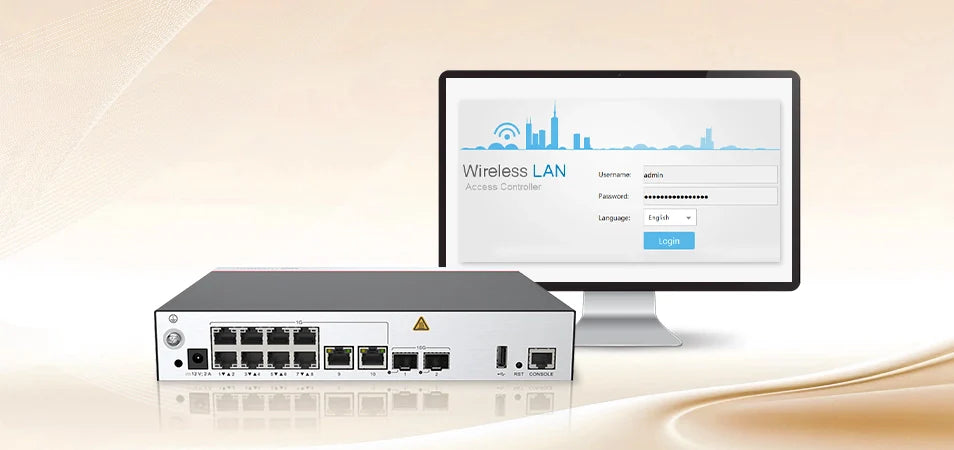
2. Access Details: You’ll need the IP address of your AC (e.g., 169.254.1.1), the default username (admin), and the password (admin@huawei.com). Adjust these to your actual settings as needed.
With these in place, you’re ready to begin.
The Standard Upgrade: A Hands-On Approach
The common upgrade process is straightforward and gives you full control. Here’s how it works:
Step 1: Log In and Check the Current Version
· Open your browser and enter http://169.254.1.1 or https://169.254.1.1 (use your AC’s actual IP).
· Log in with your credentials.
· Navigate to Monitoring > AC > AC to view the current software version. This confirms what you’re upgrading from.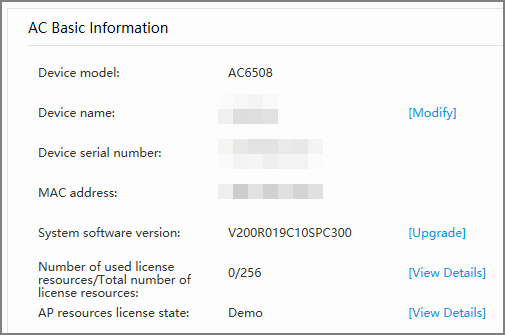
Step 2: Backup and Space Check
· Head to Maintenance > AC Maintenance > System > File Management.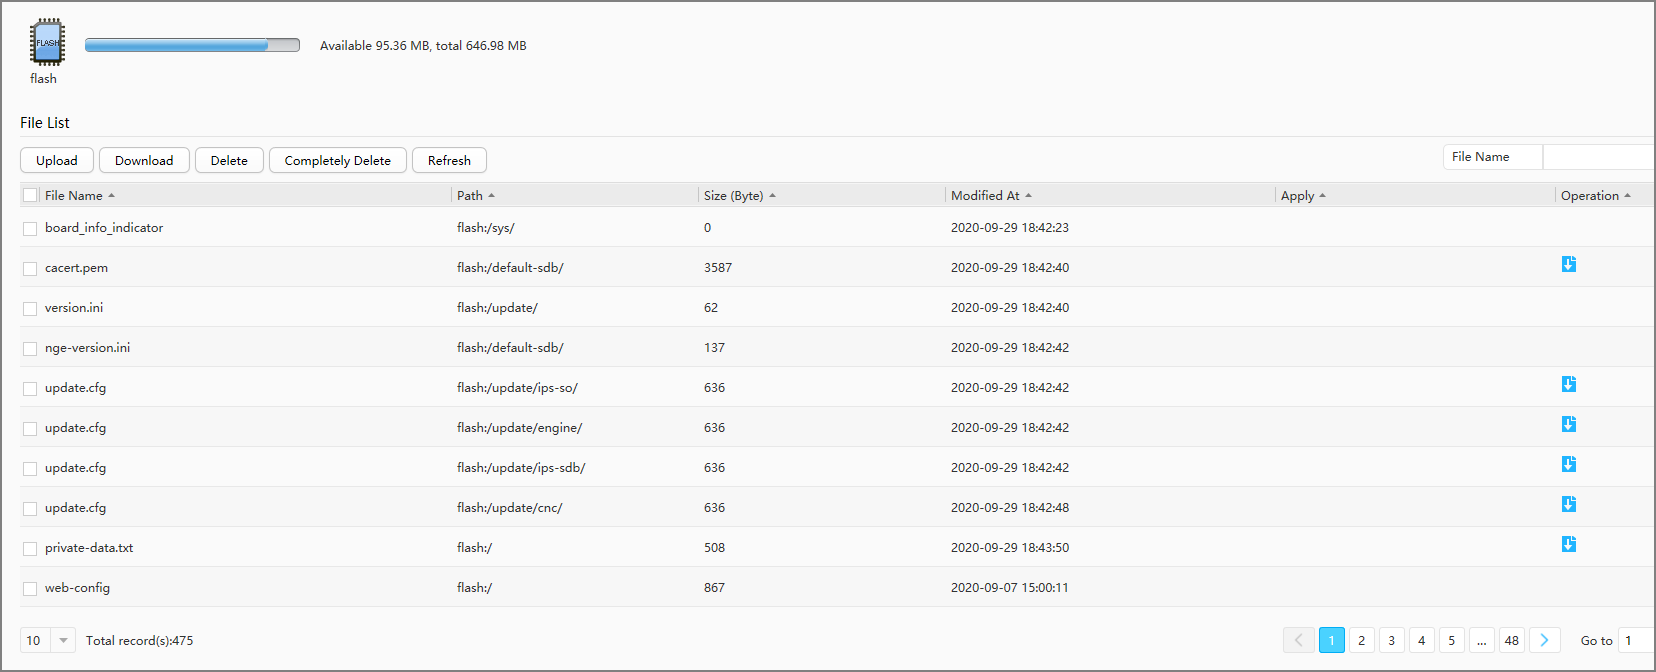 · Download critical files (configuration, system software, license, and patch files) by clicking the download icon next to each. Save them to your PC.
· Check the AC’s storage space. If it’s tight, delete unnecessary files via Completely Delete to make room for the new software package. Refer to section 2.2.2 Obtaining Upgrade Software for the package size.
Step 3: Upload New Files
· On the File Management page, click Upload.
· Hit Browse, select the new system software, patch, and configuration files from your PC, then click OK.
· A success message confirms the upload is complete.
Step 4: Load Files and Restart
· Go to Maintenance > Device Upgrade > AC Upgrade.
· Specify the new system software and configuration file for the next startup. Skip the patch file if it’s not required.
· Click Apply and restart the AC. Note: The web platform will disconnect during the reboot.
Step 5: Verify the Upgrade
· After the restart, log back in and revisit Monitoring > AC > AC to confirm the new version is active.
That’s it! Your AC is now running the latest software.
Upgrading your AC via the web platform is all about preparation and execution. By verifying your browser setup, backing up key files, and following these steps, you’ll ensure a seamless transition to the latest software version. It’s a hands-on process that puts you in control, delivering improved performance and features with minimal fuss.
Ready to get started? Log in and give your AC the upgrade it deserves!